

Saturday, 29 September 2007


Thursday, 13 September 2007
Photobucket Image Tutorial
First things first, you will need to go to Photobucket and register for an account.
You will have the choice of a free one, or a paid one. There is not much difference, the free one stores around 50Mb of pictures and available monthly bandwidth of around 2500Mb - you get more of each of these for the paid version.
Also bear in mind that if you don't upload for 6 months with the free version it will be deleted. I believe though, that they do helpfully send you an email to advise you before they go ahead and do it.
Once you've got initial decision of free of paid, and continued your registration, you are ready to upload any pictures that you have saved on your PC.
How to do this:
You will have the choice of a free one, or a paid one. There is not much difference, the free one stores around 50Mb of pictures and available monthly bandwidth of around 2500Mb - you get more of each of these for the paid version.
Also bear in mind that if you don't upload for 6 months with the free version it will be deleted. I believe though, that they do helpfully send you an email to advise you before they go ahead and do it.
Once you've got initial decision of free of paid, and continued your registration, you are ready to upload any pictures that you have saved on your PC.
How to do this:
- Go to Photobucket, and log into your account.
- You will be taken to the "Upload Images & Video Screen".
- Click on the "Browse" button, and navigate to the relevant imagefile on your PC.
- Click "Upload".
- Continue to repeat 3 & 4 until you have loaded all the picturesyou want at that time. The pictures will appear below the "Browse" boxes, and over time youwill build up your album. You will also notice when you look at your album there are four boxes below each uploaded picture they are Email & IM, Direct Link, HMTL Tag and IMG code - on the premise that knowledge is power, retain this fact for a bit. Suffice to say, that you will need to know!
With me so far, then now you need to know is how to display the pictures on here, or the forum for that matter.
For displaying on the forum:
- In Photobucket scroll to the picture that you wantto use in the thread.
- You will see three code boxes underneath it (see, I said you would need to know this bit) choose the one that is named "HTML Tag".
- Left click on the TAG code, it will highlight in blue, now right click and select copy.
- Then go to the forum, log in if you haven't alreadyand go to/create the thread in the forum that you want to post the picture into, and in the message box right click and select paste. Voila, the TAG code will be pasted into the box. Note to yourself at this point, that you can't actually see the picture (just the code)......do not panic and think that you've gone wrong .......when you preview of post your message, hey presto there it will be. I say this, not because I think you are stupid, but because I MUST be as I didn't understand that at first. Is it me, yes it is.
Nice and easy lemon squeezey, job done.
For display in the blog:
- In Photobucket scroll to the picture that you want to use in the blog entry.
- But use the Direct Link code.
- Left click on it, it will highlight in blue, now right click and select copy.
- Then log onto the Blog and create a new post, or go to your draft post (if you are already ahead of me on this).
- Click the little picture icon in the post toolbar,and instead of browsing (as you no doubt already do) choose the box tothe right of this which is called "URL".
- Right click in this box and select paste, then click "upload", the click "done".
- The picture will then appear in the blog entry.
There could now be a long and extremely tedious bit about making surethat you remember if you move your picture in Photobucket to a sub-album that you will loose the codes, etc.....but if you really are interested......or, if this has happened to you..........an extensive explanation can befound on Photobucket.
Personally, I will leave those riveting facts for another day.
Happy uploading.
Don't forget, any problems at all one of the members, moderators or adminibots will always be more than happy to give you help..........or pass the tissues and the bottle of chilled vino.
Tuesday, 28 August 2007

Tuesday, 21 August 2007

Wednesday, 15 August 2007
2-5-7-10 Box
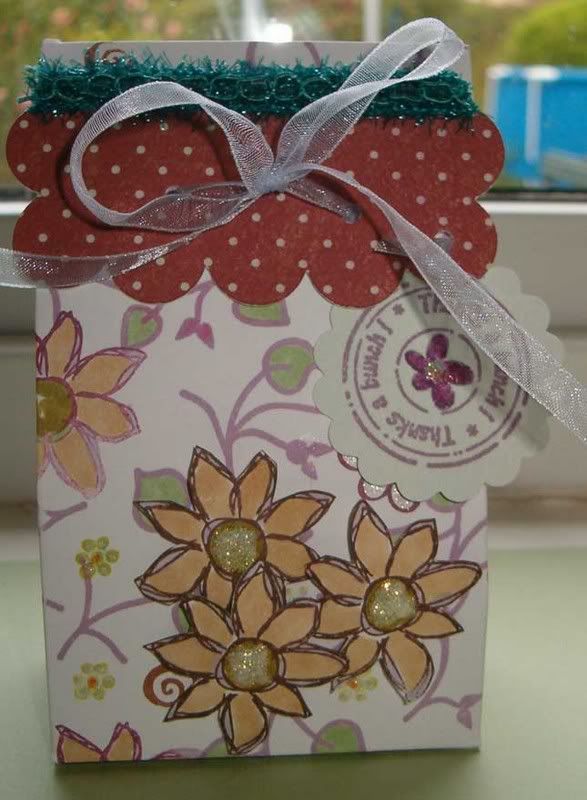
you can find supply details on my blog here, but the actual receipe with photos will be in the UK STampers newsletter..........which I promise will be coming very soon.
It's perfect for a small gift, I added loads of yummy M&M's to this one as a thank you for my Daughter's summer camp group leader, but equally you could make wedding favours, or put some jewellery in.
Monday, 6 August 2007
Using my Bind-it-all


I finally got round to testing out my Bind-it-All by making this Photo Album for a friend of mine. After a minor hitch using the wrong size wires (too small) it went pretty smoothly!
Bubble Bath ATC's (Tanda Stamps)

Here are a couple of ATC's that I made using stamps from the Retro Women Set 3 by Tanda Stamps
Sunday, 5 August 2007
Use Your Stash Challenge #1

Here's my ATC for the Use Your Stash Challenge..The stamp comes from a sheet called A Passage to India from The StampSmith.I think I've only ever used half of them! The background is from the 'Bit' box!
Use Your Stash challenge #1
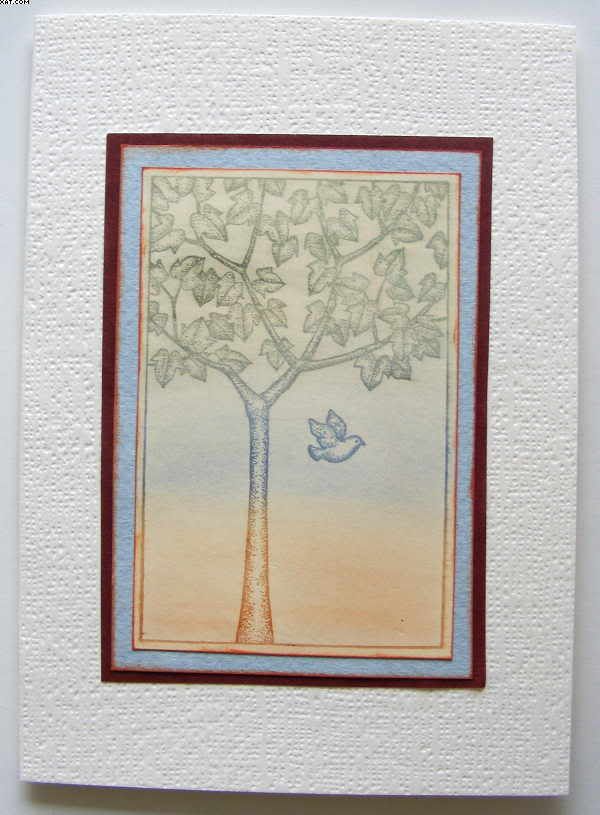
Here is my card to meet the above challenge. Very plain, but effective in my opinion. If you want to see more on how it was made go to MY BLOG .
Use Your Stash challenge #1
 This one's a bit of mailart, postcard sized. So I'm not sure what to count it as, points-wise.
The stamp - which not only had I never used before, but I have no idea where I even got it from or when, mind's a total blank - reads "mail artists share, athletes compete".
It seemed perfect to grace a piece of mail art aimed at my best mate and fellow hockey obsessive Alison G - because it gave me an excuse to stick a couple of darned handsome sports fellows on the back :)

You can read more about it on my own blog if you feel the urge
Flo x
(who now has either 7 or 8 points - yippeee!)
Use your stash challenge.
 This is my entry for the 'Use your Stash' challenge. Although the background stamps are old favourites, I had not used the main image by Paperartsy. It seems that whenever I buy a sheet of stamps, there is always one I find a bit challenging. This card is my first commission! I hope the recipient likes it!
Supplies used: Distress Inks, Nick Bantock Dye Ink, Perfect Pearls, and stamps by Paperartsy, Aud Design, and Hero Arts.
Thanks for the challenge, Kym!

Wednesday, 1 August 2007

Tuesday, 31 July 2007
UK STampers - Use your Stash Challenge #1
as Members of UK ST will know, I recently mentioned an on-going Use your Stash Challenge, so here is the first one:
Look through your stamps, and choose an image that you has never seen active service, and use it, along with other ingredients if you like, to make either an ATC or card.
As we go there will be points to collect, and there will be a little prize at the end for the people that have collected the most points. On each challenge post you will see the points that you can accumulate for that particular one (there will also be some that have additional bonus points). Just keep a note of your points as you go.
Members, please post your efforts either on the blog, on on your own blog with a link here. You could keep a tally of your points either in your signatures or on the database (see my details).
Non-members are welcome to join in, and should post a link to their contribution.........better still, think about joining our community........just go to UK STampers site, register and wait for activation.
The points for this challenge are:
Look through your stamps, and choose an image that you has never seen active service, and use it, along with other ingredients if you like, to make either an ATC or card.
As we go there will be points to collect, and there will be a little prize at the end for the people that have collected the most points. On each challenge post you will see the points that you can accumulate for that particular one (there will also be some that have additional bonus points). Just keep a note of your points as you go.
Members, please post your efforts either on the blog, on on your own blog with a link here. You could keep a tally of your points either in your signatures or on the database (see my details).
Non-members are welcome to join in, and should post a link to their contribution.........better still, think about joining our community........just go to UK STampers site, register and wait for activation.
The points for this challenge are:
- Members taking part = 5 points
- Non-members taking part = 2.5
- ATC = 2 points
- Card = 3 points
Closing date for Challenge #1 is Sunday, 5th August 2007.
Sunday, 29 July 2007
Glimmer Mists

Glimmer Mists on semi gloss paper using a stencil..(As shown in Scrapbook Lounge webisode!)
Colours are definately subtle...would deepen after several applications, shimmery effect does not show well on camera.Colours show better on white than black.
Tuesday, 24 July 2007


Sunday, 22 July 2007
Cute Card
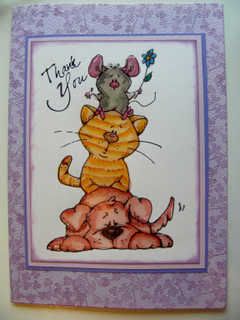
Well I finally managed a 'Cute Card' !!!!! Thanks to Kym who supplied the raw stamped image (I had no cute stamps of my own). Yes I know it's the same stamp as Kym's but at least I did it !!!! I used Lyra Aquacolour and brush to colour in the image and finished it with 3D Clear Gloss Finish from Anita's (not really noticeable from the pic). Applied a 'Thank You' stamp in black Stazon then double matted this on mauve and pink card and edged the inner mat with Wisteria Colobox Chalk Ink. I used a mauve textured card and stamped the edges with a posy stamp usng the same ink before applying the mat.
Friday, 20 July 2007


Tuesday, 17 July 2007
Define your Space Challenge

Been catching up a bit more on challenges, etc., and this is one of my contributions to the Define your Space Challenge set a while ago.
Fuller details on it are on my blog.
Sunday, 15 July 2007

Thursday, 12 July 2007

Pile of Friends - Cute Challenge

mmmmmmm, I've started myself down a dangerous road - cute and cuddly stamping - and I'm having fun.
Details of supplies, etc., can be found on my Blog.
Monday, 9 July 2007
Cute Challenge

In case some of my fellow members have got the impression that I love to set challenges, but never take part, this is a quick upload of the partly completed "cute" challenge that I set recently.
Basically, the challenge was to do something "cute" if you usually go for arty look, and vice versa.
This is wayyy off my usual choice, but have to say that I really enjoyed the challenge - and used a stamp that my Daughter bought me for Xmas a couple of years ago, and hadn't even been inked.
Whether it's the fact that I now have Dave (the Cricut) and can cut a scallop without effort, or the fact that I enjoyed the colouring, I think I will be doing the cute look again.
It's not the best colouring/blending in the world, but I feel that I could do better with practice.
Now, I fancy some of the fabulous cute mice images I've seen around.
Stamp: Penny Black - Basket of Joy (2075)
Inks: Sakura Stardust and Marvy Makers
Other: Cricut Mini Monograms for scallop, Basic Grey Lilly Kate "Parasol"
I'm going to try to finish the card off tomorrow.
Saturday, 30 June 2007

Sunday, 24 June 2007
WSW Stamped Background Challenge

So many interesting challenges. Thought I'd start with this one first.
Saturday, 23 June 2007
Don't forget that it's worldwide stamping weekend....
so Members post your work, and i'll pick my favourite to send a little blog candy to.
Friday, 15 June 2007
Bargain Basement at Stamp Galaxy
to make some much needed room for lots of lovey new things....check it out here .... make sure you keep check back, as I'm adding things all the time, and once they are gone, they're gone!
Monday, 11 June 2007

ATC following Kym's tutorial

 Here is my creation using Kym's 9 step tutorial. It was different for me to use so many stamps and inks in one background, but I am really pleased with the results and will be looking at my stamps closely now to see which ones co-ordinate! Stamps used are all Paperartsy apart from the music manuscript stamp which is TandaStamps. Details are here, on my blog.
Hazel.
PS The colour is actually somewhere between the two photos, my camera has always struggled with browny-purples. Sorry!
Saturday, 9 June 2007

Friday, 8 June 2007
ATC Background - Step by Step

for anyone interested in how this background for an ATC was put together, you can get a step by step here.
Tuesday, 5 June 2007
Define your space challenge

 Here is my entry for the 'Define your space' challenge set by Kym on 9/5/07. I had to wait for my lovely new Cherry Pie stamps to do this, as I am changing the theme of my dining room (and crafting space) to go with a Gustav Klimt print I have. I will be making lots more labels for all of the draweres, but this is a good start! All of the (longwinded) details of how I made this are here on my blog.
Hazel.
Sunday, 27 May 2007
Colour challenge #5
 This is straight lift from Nancy Curry's book "Texture Effects in Rubber Stamping", as I was a little short of time and inspiration this week. The technique is called 'Bargello', after the embroidery technique. I also used the faux batik technique, as it's one of my favourites at the mo. Stamps from Aud design, inks are versacolour and whispers.
Hazel.
Friday, 25 May 2007
Colour Challenge #5 - Lovely As A Tree
 This is my effort for colour challenge 5. Tried a new technique with Oil pastels that I found on Trish Bees blog.
 Stamp is from a Stampin Up set called 'Lovely As A Tree' and is coloured with Prisma pencils and Gamsol.
Another enjoyable challenge Krisy - thanks!
Wendy
Wednesday, 23 May 2007
Colour Challenge #5

Not sure about this one at all. I matched the turquoise to an Iranian turquoise necklace I have. I tried to recreate the effect of the black seams running through the stones. I found this colour combo incredibly hard but thanks Kristy for making me think outside my very small box!
Subscribe to:
Posts (Atom)


